Healthy feet are the foundation of an active life, and proper toenail care is a crucial part of that. Neglecting your toenails can lead to discomfort, pain, and even infection. The good news is that with a few basic tools and the right technique, you can easily maintain healthy, strong toenails at home.
The Essential Toolkit
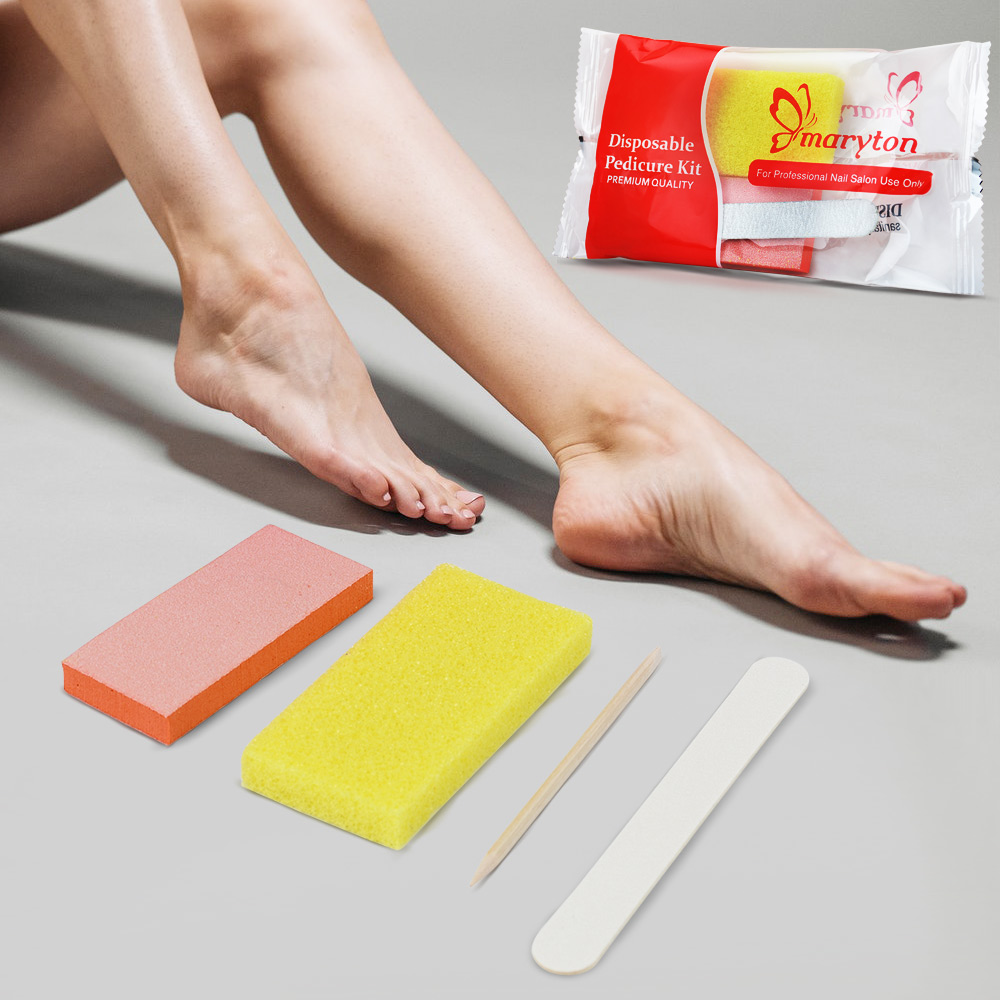
You don’t need a salon-full of products. A simple, dedicated kit is all that’s required:
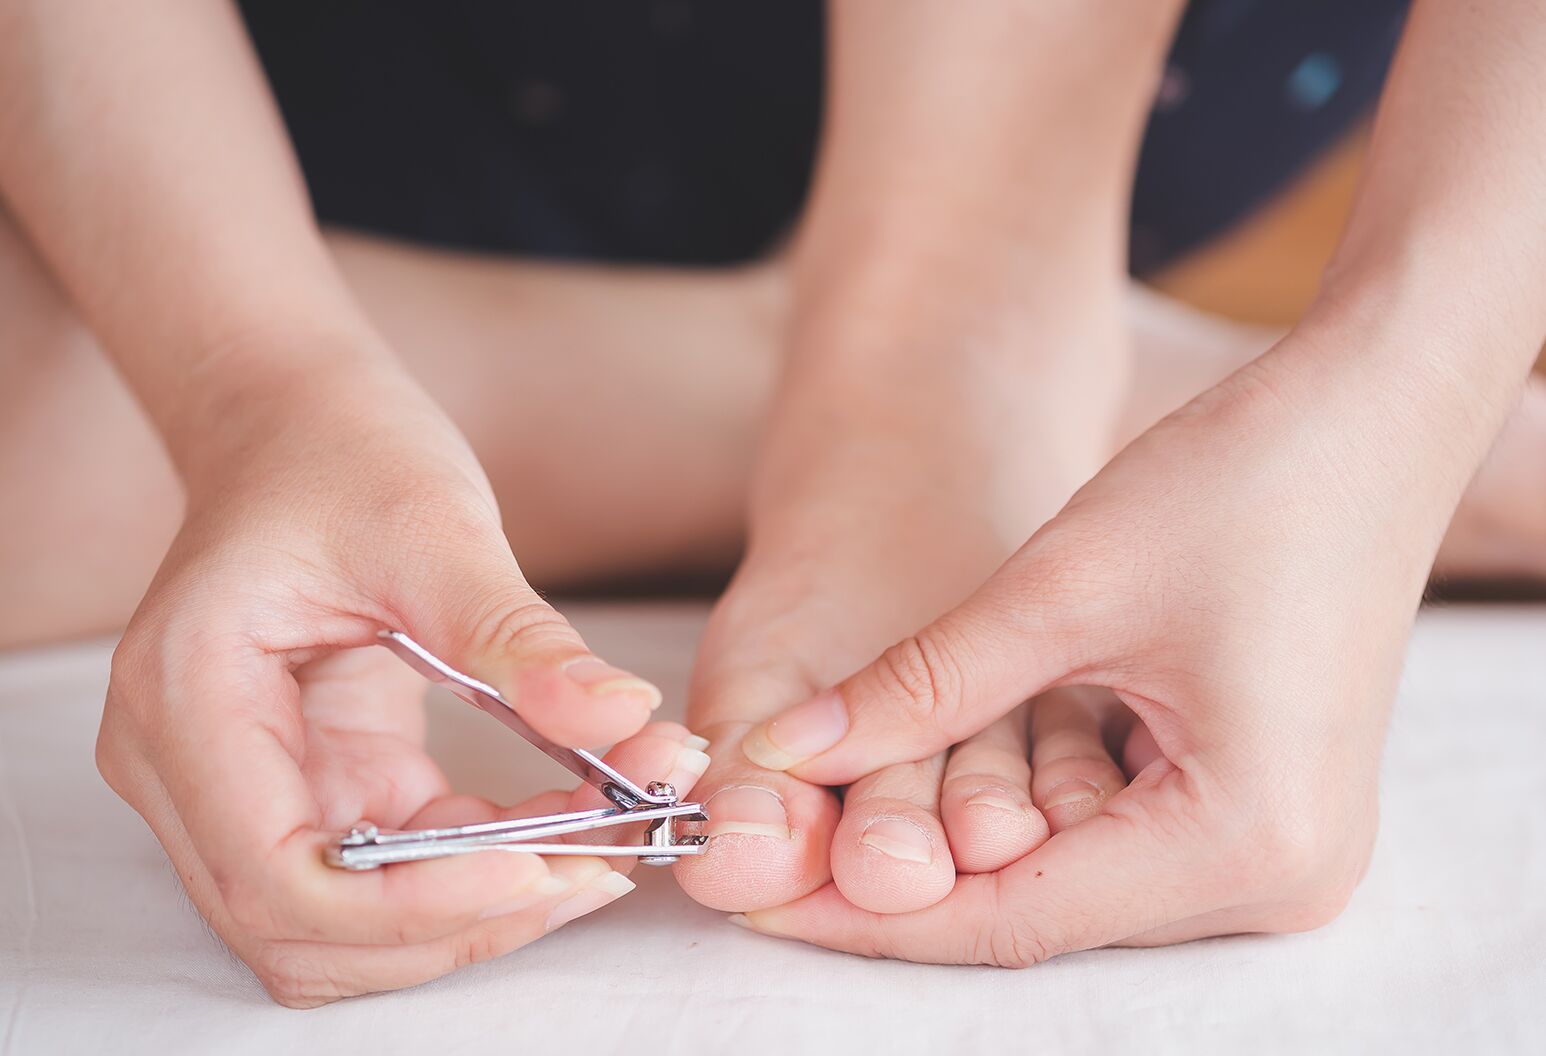
1. Nail Clippers: Use clippers specifically designed for toes. They are larger and stronger than fingernail clippers, making it easier to cut through thicker toenails. Ensure they are sharp; dull clippers can crush or split the nail.
2. A Nail File: An emery board is perfect for smoothing rough edges after clipping. This prevents snags on socks and reduces the risk of ingrown toenails.
3. A Cuticle Pusher (Optional): A gentle wooden or rubber-tipped pusher is useful for carefully pushing back the cuticles. Never cut them, as they act as a protective seal.
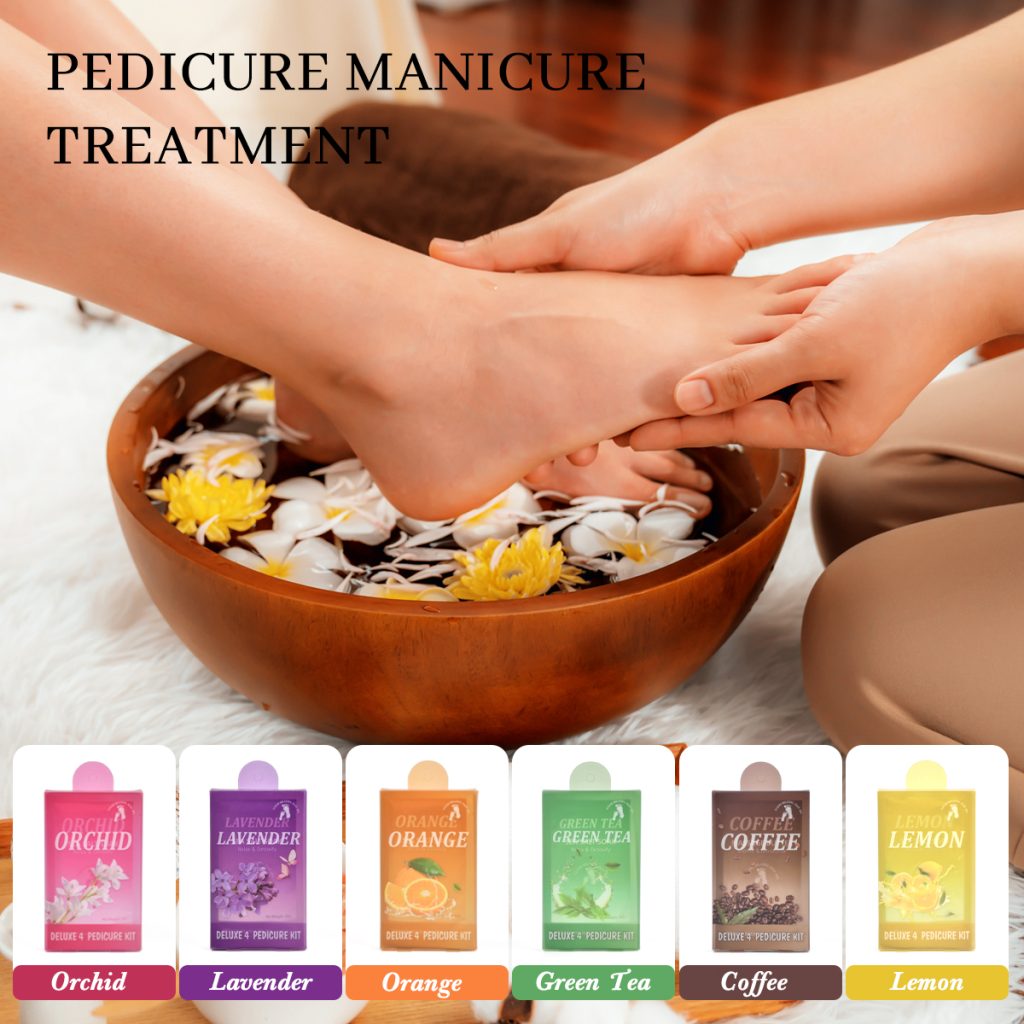
4. Foot Soak Basin: Any small basin or tub large enough for your feet will work.
5. Towel: For drying your feet thoroughly.
6. Moisturizer: A good foot cream or lotion helps keep the skin and nails hydrated.
The Step-by-Step Care Routine
Follow this simple process every few weeks, or as needed.
Step 1: Soften Up
Start by soaking your feet in warm, soapy water for 10-15 minutes. This softens the nails and cuticles, making them much easier and safer to trim. Adding a few drops of mild soap or Epsom salts can be soothing.
Step 2: Clean and Dry
After soaking, scrub your feet gently with a soft brush to remove any dirt from under the nails. Then, dry your feet and toes completely, paying close attention to the spaces between them. Dampness is a breeding ground for fungus.
Step 3: Trim Correctly
This is the most important step. Always trim your toenails straight across, following the natural curve of your toe. Avoid rounding the corners. The goal is a flat, square shape. Cutting nails too short or curving the edges downward encourages the nail to grow into the surrounding skin, leading to painful ingrown toenails.
Step 4: Smooth the Edges
Once clipped, use your nail file to gently smooth any sharp or jagged corners. File in one direction only, rather than sawing back and forth, to prevent nail splitting.
Step 5: Care for Cuticles and Skin
Gently push back your softened cuticles with a pusher. Apply a moisturizer to your feet, massaging it into the skin but avoiding the area between the toes to prevent excess moisture.
Avoiding Common Injuries and Problems
Using the right technique isn’t just about aesthetics; it’s about preventing harm.
- Ingrown Toenails: The primary cause is improper cutting. By trimming straight across and not too short, you guide the nail to grow forward correctly. Also, wear shoes with a roomy toe box to avoid pressure on the nails.
- Fungal Infections: Fungi thrive in dark, moist environments. Keeping feet dry, wearing moisture-wicking socks, and never going barefoot in public pools or locker rooms can significantly reduce your risk.
- Bruised or Black Nails: This is often caused by trauma, frequently from shoes that are too tight. If you run or hike, ensure your shoes have about a thumb’s width of space between your longest toe and the end of the shoe.
- Cuts and Infections: Never use the same clippers on an infected nail and a healthy one without sterilizing them first in rubbing alcohol. Avoid “bathroom surgery” to dig at an ingrown nail, as this can introduce bacteria and make the problem worse.
In conclusion, toenail care is a simple yet vital form of self-care. By gathering a few basic tools, following a consistent routine, and prioritizing proper technique—especially cutting straight across—you can keep your feet healthy, comfortable, and injury-free. Your feet work hard for you; they deserve the attention.